How do I send an email out from a job? Do I get to decide what template I choose? All of these questions will be answered in our article about the email composer! #

In Usked, you have the ability to send out emails directly from an assignment. Starting from a base template, you can customize it to reflect whatever you’d like! Let’s dig into how this works. #
Where can I find the email composer? #
Anywhere you see an email icon you’ll be able to open the email composer. Here are the places you’ll find that email icon.
1. The Actions menu of a job or block
2. Places you see the service request box (includes 1 day side by side and 7 day scheduling views)
3. Service request cart (Email composer button)
4. Group members list
5. Reports
- Check Paperwork Requirements
- Expired Paperwork
- Missing Paperwork
- Unverified Paperwork
Let’s walk through an example of the most common place you’ll use the email composer from – a job! #
STEP ONE – FINDING EMAIL COMPOSER AND CHOOSING YOUR TEMPLATE #
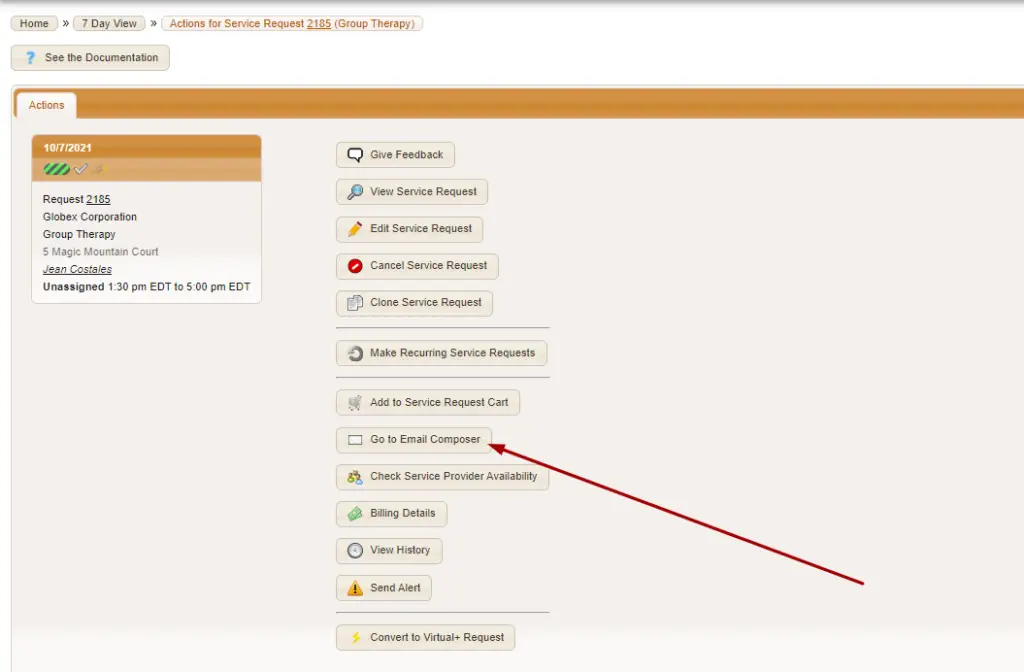
Find the job you’d like to send an email about. Click the start icon to get to the Actions menu. From here select “GO TO EMAIL COMPOSER.“
Next, we are going to want to select the template we want to use from the drop-down list.
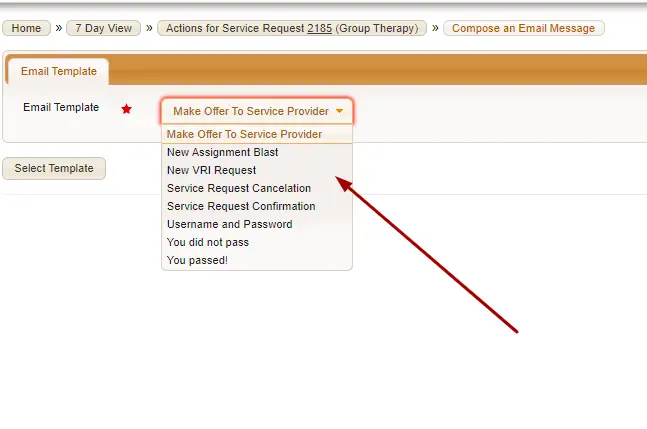

What if I don’t see my email template in this drop down? #
If you don’t see the email template come up in the drop down head to Settings>Email Templates and click the pencil icon next to the desired email template. Under the List Visibility tab set Show in Composer to Yes, then Save Changes.
STEP 2: DEFINE YOUR PARAMETERS FOR THE EMAIL #
Now that you have decided what template you want to use, we need to define the parameters for sending it out to the right people. Let’s walk through it.
EMAIL CONTENTS #
#
It is in this tab you’ll see the default FROM and BCC addresses copied from the template.
Here you can add an Additional Subject and Message if you’d like to add text to appear in the subject line or body of the email in addition to what already exists on the template.
RECIPIENTS #

This determines who will receive the email. If you click on any of these buttons, the text will change color in addition to a checkmark appearing. Anything left unclicked will not be sent. If the email you are sending is a blast make sure to select an option under “Email Blast.”
OPTIONS #
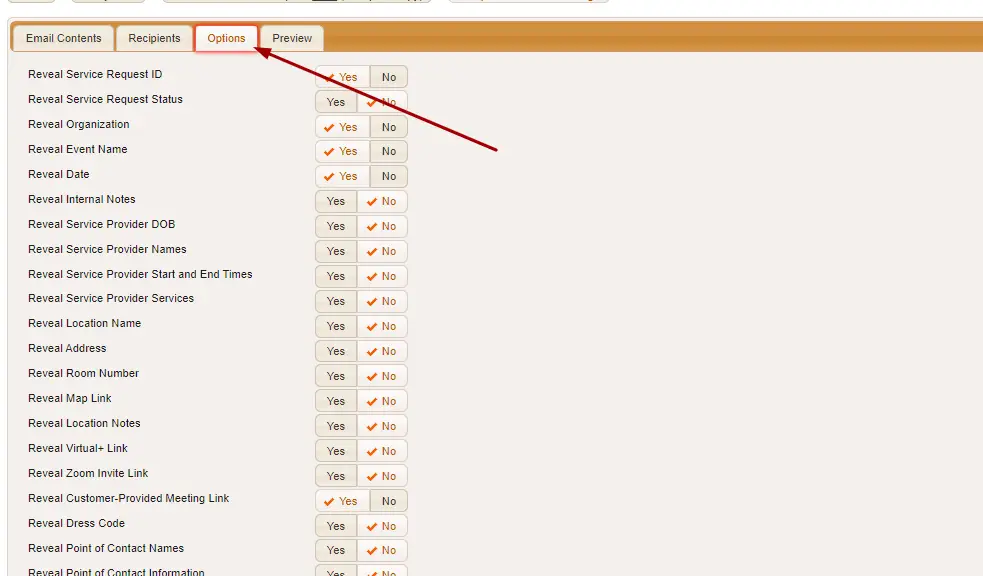
These will be set to the defaults from the email template, so no need to make changes here unless this email is unique in what info you want to show or hide on the email.
PREVIEW #
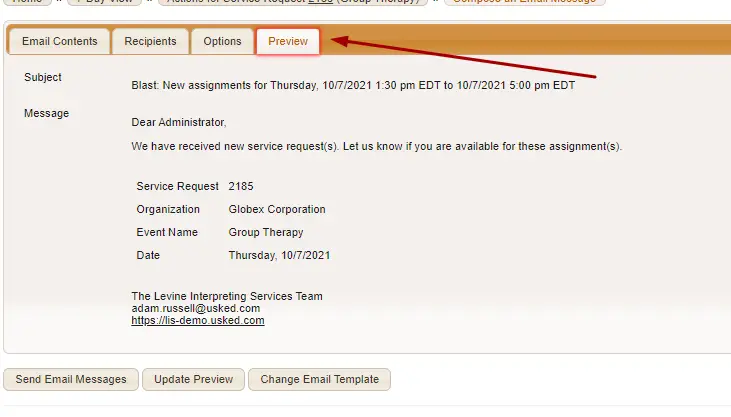
Check this out if you’d like to see what your email will look like before you send.
STEP 3: SEND YOUR EMAIL #
Once you are all set, click Send Email Messages.